


This is the 4th episode in our Bullecourt series – this episodes looks for the lessons in the employment of Artillery at the Battle of 1st Bullecourt.
“With artillery support we can keep the position till the cows come home.”
So wrote CAPT Harry Murray, VC, OC A Coy after the 4th and 12th Brigades had fought their way into the Siegfried Line – they didn’t get it and were forced to conduct an extremely difficult withdrawal under heavy machine gun fire.
Why didn’t he get the artillery support that they needed?
Cyril Falls in the British Official History wrote that had Bullecourt been pounded unmercifully, Bullecourt could have been taken.
Artillery had a series of tasks:
- Preparation of the battlefied by destroying the barbed wire in No Man’s Land
- The Fire Plan to destory / neutralise German infantry in their trenches
- Neutralisation or obscuration of the machine guns in the Queant that provided flanking fire onto the advancing infantry
- SOS fires to support the infantry holding on to gains from the inevitable counter attacks
- Counter Battery fire denying Germans the ability to interdict the infantry as they advanced and to support the German counter attacks
As discussed in the Operational Lessons episode, Gough in command of a secondary effort to a diversionary attack was, quite rightly, never given the ammunition allocation he needed to exceed his Commander’s (Haig) intent for the battle.
Bean wrote in the official history:
There remains for the 4th Australian Division that honour which comes to a magnificent instrument recklessly shattered in the performance of an impracticable task-to an incomparable weapon, which, woefully mishandled and thrown at an inipossible target, nevertheless by its sheer clean strength and elasticity cleaves its way deep into the apparently invulnerable side, and stays there until wrenched off by a power too strong for it. The action of the 4th Division at Bullecourt, if it served as a striking illustration of an attack that should never have been made, furnished also a classic example cjf success by determined infantry against insufficiently cut wire. The entanglement which faced both brigades was as intact and many times as deep as that confronting the 7th Brigade on the night of 29th July, 1916, at Pozi6res; but leadership-superb by reason not merely of bravery and devotion, but of capacity-and the individual determination of the men carried the force through two such barriers, despite the heavy loss at each.
Importance cannot always be attached to the phraseology of congratulatory messages, but the simple words of Birdwood, in forwarding Gough’s appreciation of the ” splendid effort ” of the division, were true:
We have no cause to be disheartened at having failed to retain our footing. . . . Rather we can feel proud of the magnificent bravery displayed.
What might not these troops have achieved if prudently employed? One gain they secured, not without value – respect for themselves and their countrymen among all who knew the true story.
For the Australian’s the high price was to be recouped in the battles of 1918 as cooperation, concentration of fire, economy of effort and sustainment would be learned and employed to create innovative fire plans that shaped the battlefield to delivery success to the manouvre arms.
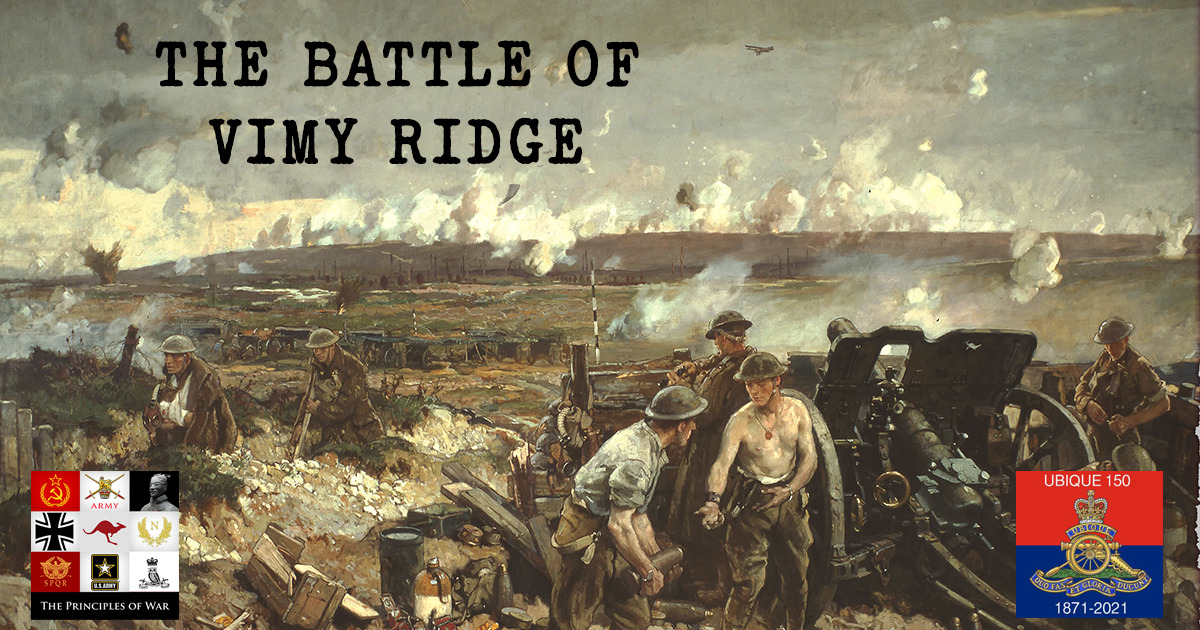
The key question is why were the Australians late in learning these key lessons. Just 48 hours earlier and 35 kilometers north, the Battle of Vimy Ridge was taking place – the Canadians used science, the principles of employment for artillery and 40,000 tonnes of shells to create the ‘week of suffering’ and a very successful battle on key terrain for the German Army. How did they do it? Listen to our Vimy Ridge PME series to find out.
This is part of our 150th Anniversary of the Royal Australian Artillery series.
Have a listen to the episode as we go into further detail about the Battle of 1st Bullecourt and the Lessons for the employment of Artillery.
Major General Will Holmes, the Commander of 4th Division, featured in the artwork for this episode was killed one month later at the Battle of Messines by German Artillery.