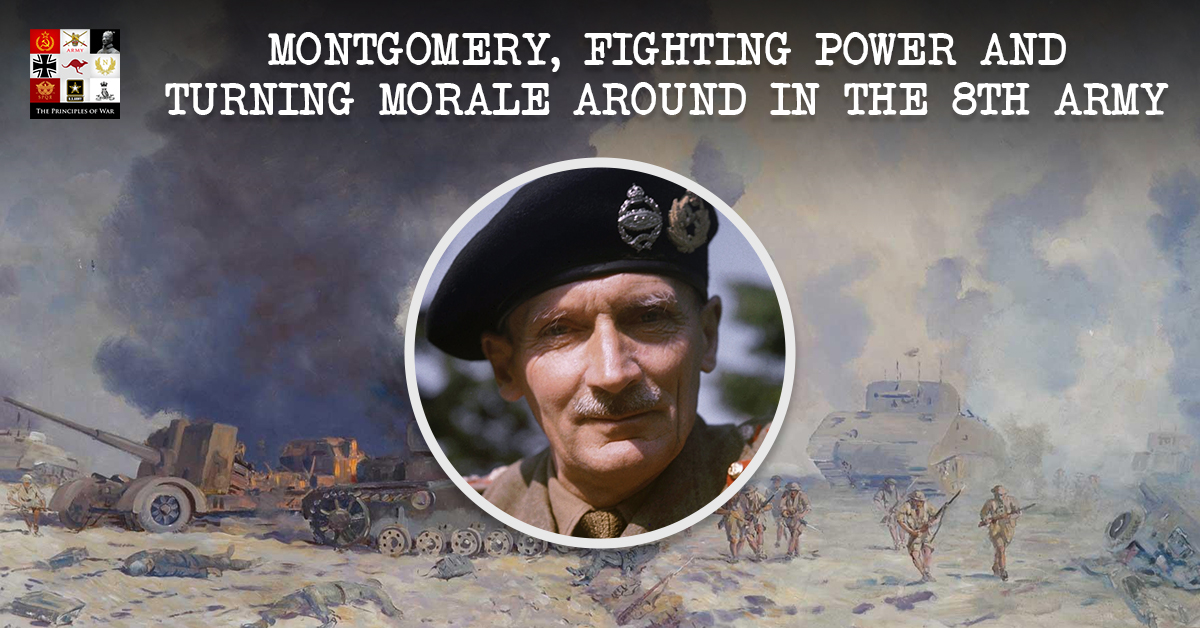
This is our 5th episode of our 2nd Battle of El Alamein series. This episode looks at Rommel’s attack at Alam Halfa just 17 days after Monty took command. Have a listen to the podcast on your favourite podcast player.
- Why did Rommel attack?
- How did Monty prepare for the attack?
- How did the Battle go?
- What lessons were learnt?
This is a great example of Selection and Maintenance of the Aim. Montgomery ignores the desire to attack the retreating Panzer (including some being towed off the battlefield due to running out of fuel!), because he was going to wait until the conditions were set to destroy the Axis forces in front of him.

Rommel turns north early, based on a captured British ‘Going’ map, a map that highlights the easy terrain and obstacles. Critically this was a haversack ruse from Freddie de Guingand. He had planted a map in an overturned vehicle, which we covered in our 2 part special on operational and strategic deception. They used British maps because the German maps were of lower quality. The heavy going in the sand, which was marked as good going greatly increased fuel usage for the Panzers during the attack.
The airstrikes on the convoys limit Rommel’s fuel supply and that feeds into restricted tactical options for Rommel and his vehicles.
Rommel brings in a hand picked Cheif of Staff – de Guingand, who could focus on refining the plan whilst Monty visited units and ensured that all Commanders understood his intent.
Alam Halfa is an excellent example of a defensive battle that shapes the enemy into taking actions that the defender wants in order to buy time to set the conditions for resuming the offensive.
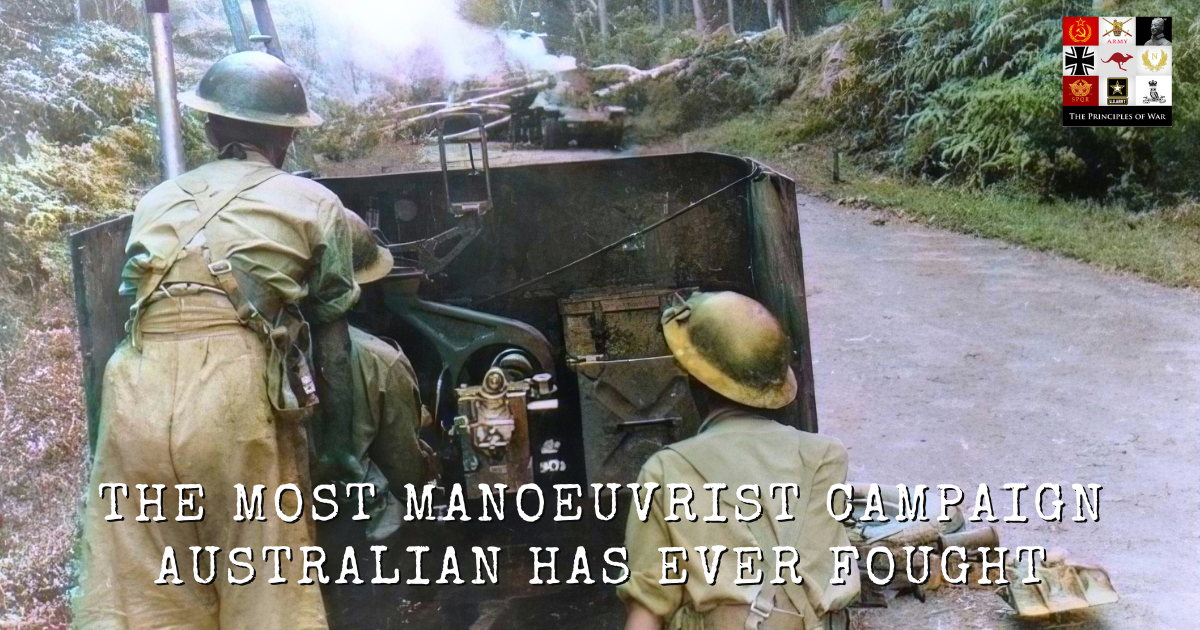
For more information on 150 years of Royal Australian Artillery, visit the RAAHC website.


